Introduction[]
If you intend to make uniform pi-brackets that are of the correct thickness for cheiroballistra (~5-6mm), you will need to bend them hot. One option is to simply take a rectangular steel bar of the appropriate dimensions (~ 13.3 x 13.3mm) and forge the bar around it. A more controlled process is to make a steel form - such as the one described here - around which you forge the pi-brackets.
Making the pi-bracket forging tool[]
Take two pieces of rectangular steel that have the same dimensions as the inside of the pi-bracket, and separate them using a piece of steel that is about 1mm thicker than the material you make pi-brackets from. The length of the rectangular pieces should match the length of one side of the pi-bracket plus its tenon. Tighten all three piece into one tight package:
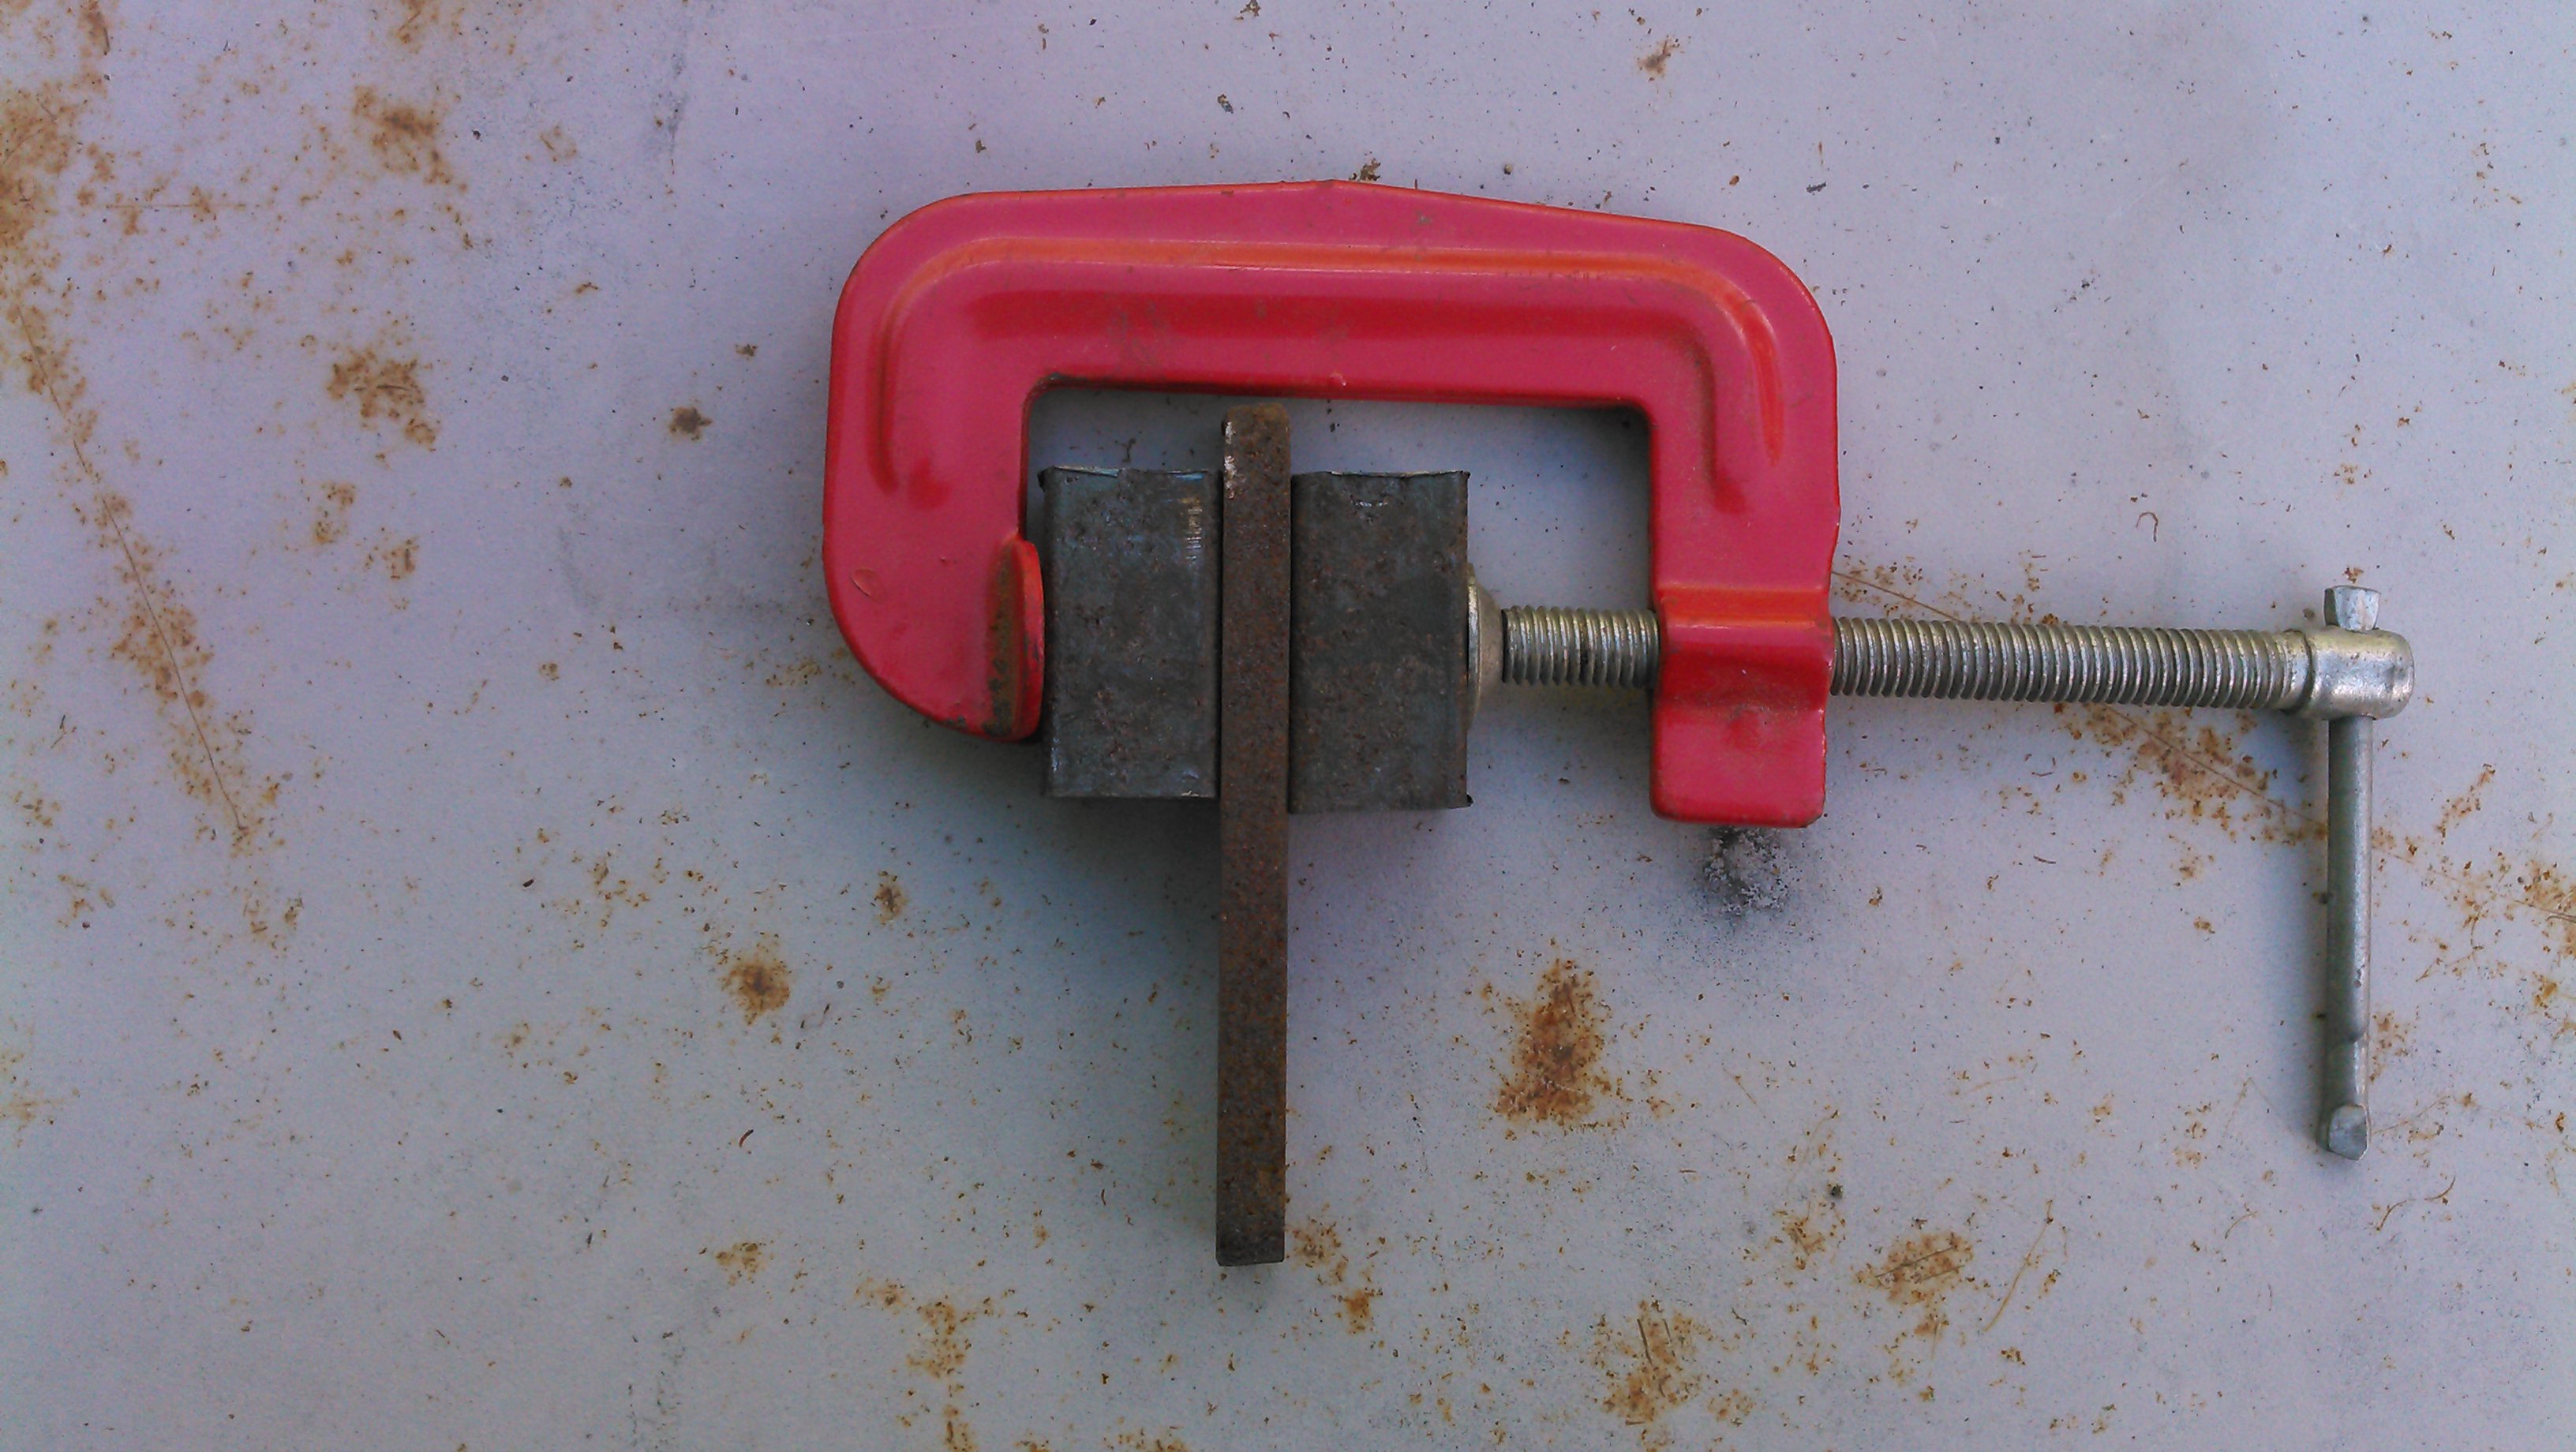

Take two flat pieces of steel of sufficient (4mm) thickness and place them on both sides of the earlier three pieces.


Weld the flat pieces to the rectangular pieces:

Then weld the who package into a base, which fits neatly into a vise, or better yet, into the hardie hole in the anvil. A base made from heavy reinforcement steel is shown in the picture above in a "not yet welded" state.
Finally grind down the welding seams and, if necessary, grind the rectangular pieces into correct thickness. For example, in the picture below the leftmost rectangular piece has been ground down from 16mm to 14mm:

You should also make a L-shaped piece of thin steel that you can use to measure the correct length for the tenon (see below).
Forging pi-brackets[]
This part of the process is a bit short on pictures, but a textual description should suffice. First take a long piece of the pi-bracket material and heat it up. Once sufficiently hot, push it inside the hole in the tool and hammer a 90 degree curve into it. Take it out of the form and forge it from all sides as necessary to adjust the curvature, and to fix any problems with it.
Next cut the piece to the correct length, so that the longer part of the L just manages to stay clear of the anvil's face when bent. Figuring out the correct length is not as easy as it sounds, so you should do some testing and when you find the proper length, make a L-shaped tool with which you can quickly make mark the place for the cut.
Heat the now L-shaped piece in the forge, take it out with pliers and place the long end into the slot in the forging tool. Then, with simultaneous blows from two hammers to the top and side of the tool force the piece into the characteristic U-shape:

Usually it is necessary to take out the U-shaped piece from the tool using pliers and to finish the sides on top of the forge with a large hammer. If necessary, reheat and correct any problems you noticed The end results should be pretty good in general, and should look roughly like this:

The next step is to form the tenons. So far I've only used the "saw and file" method described in the Making pi-brackets article, but one could probably also use a set of swages to form the shoulders and the tenon.