Introduction[]
This page describes a technique for forging the claw from one or two pieces of steel. When using this technique the fingers of the claw can be easily forged square in cross-section and then rounded, which make the claw very stable. The older technique I used produced fingers that are fairly flat and which are thus slightly less stable.
The finished trigger should preferably be as wide (horizontally) as the fork part of the fork and tenon.
Forging the claw[]
Start by taking a fairly thick and narrow piece of steel and marking two sections of the required length to it; remember to add some extra to compensate for the length lost during foldings:
Fold the piece onto itself:
Alternatively, you can us two separate pieces, or one thick piece. Next bend the to-be fingers:
If you're making the claw from two pieces, you need to weld the pieces together. First grind a groove to the top:
Then weld the pieces together along the groove:
Now that the pieces have been attached together, we can separate the fingers. Here I've used a hot chisel made from forged and hardened axle steel and a improvised copper hammer for the job:
If you don't have a hot chisel, you can use an angle grinder with a very thin cutting disk, or a hacksaw. After cutting bend the fingers to a 90 degree angle and forge them to the correct shape:
Finally adjust the curvature of the fingers. At this point the fingers can be much longer than necessary, as they'll be cut to correct length later:
Finishing touches[]
First drill a hole for the axle. Then cut the tail and the finger of the claw and to the near-correct length, so that you can attach the claw to the fork:
File the tips of the fingers until they are perfectly level with the top of the slider:
At this point it's fairly likely that the fingers are not perfectly aligned:
Hammer the fingers carefully to adjust them:
Finally file the bottom-side of the tail of the claw so that the trigger can move under it. Note that when fingers are touching the slider, the bottom side of the tail and the slider should be perfectly parallel: this prevents the finger from rising up when the trigger is being pulled.
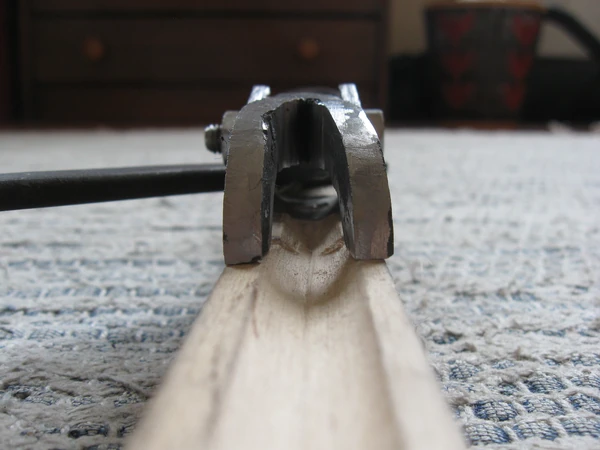
Here are some pictures of the finished claw and trigger assembly:


